Are you an arts and crafts lover looking to clean oyster shells for crafting and make beautiful things with them?
Cleaning oyster shells is a must before you can use them for crafting.
Here, we will walk you through the process of cleaning oyster shells so they are ready for your next project.
Why Clean Oyster Shells?
Oyster shells are a crafter’s treasure trove, full of possibilities.
But before you can start crafting, you need to clean the shells. This is important for:
Dirt and debris: Oyster shells can collect dirt, sand and other debris that can ruin your craft project. Cleaning the shells means your finished product will look polished and professional.
Damage: Dirt and grime can cause oyster shells to break or crack and be unusable for crafting. Cleaning the shells will preserve them and prevent damage.
Appearance: Clean oyster shells show off their natural beauty, so you can create beautiful art.
Supplies
Before you start cleaning your oyster shells, make sure you have:
Oyster shells: Collect oyster shells from a beach, a craft store, or online. Make sure they are dry and free of large debris.
Water: You will need water to soak and clean the shells.
Mild detergent: A gentle detergent to clean the shells without damaging them.
Soft-bristled brush: A soft-bristled brush to remove dirt and debris from the shells.
Rinse aid: A rinse aid like white vinegar to remove soap residue.
Dry cloth: A dry cloth to dry the shells after cleaning.
Step-by-Step Process
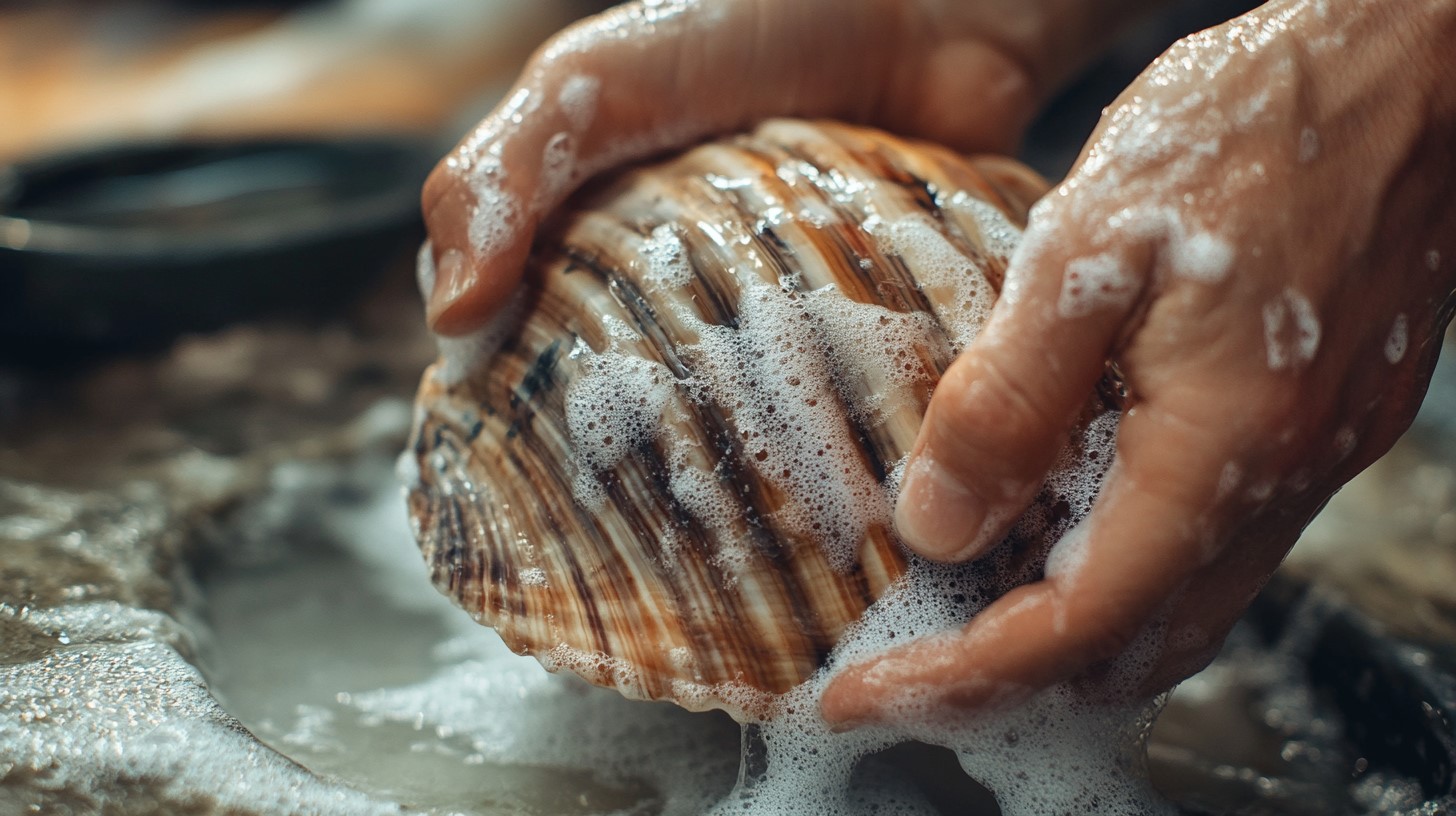
Image Credit: Unsplash
1. Soak the Shells
Soak the oyster shells in warm water for several hours or overnight.
This will loosen any dirt or debris stuck to the shells.
2. Add Detergent
Add a small amount of mild detergent to the water and swish it around.
Make sure the detergent is fully dissolved before you continue.
3. Brush the Shells
Use a soft-bristled brush to gently scrub the shells, working from the outside in.
Focus on any areas with visible dirt or debris.
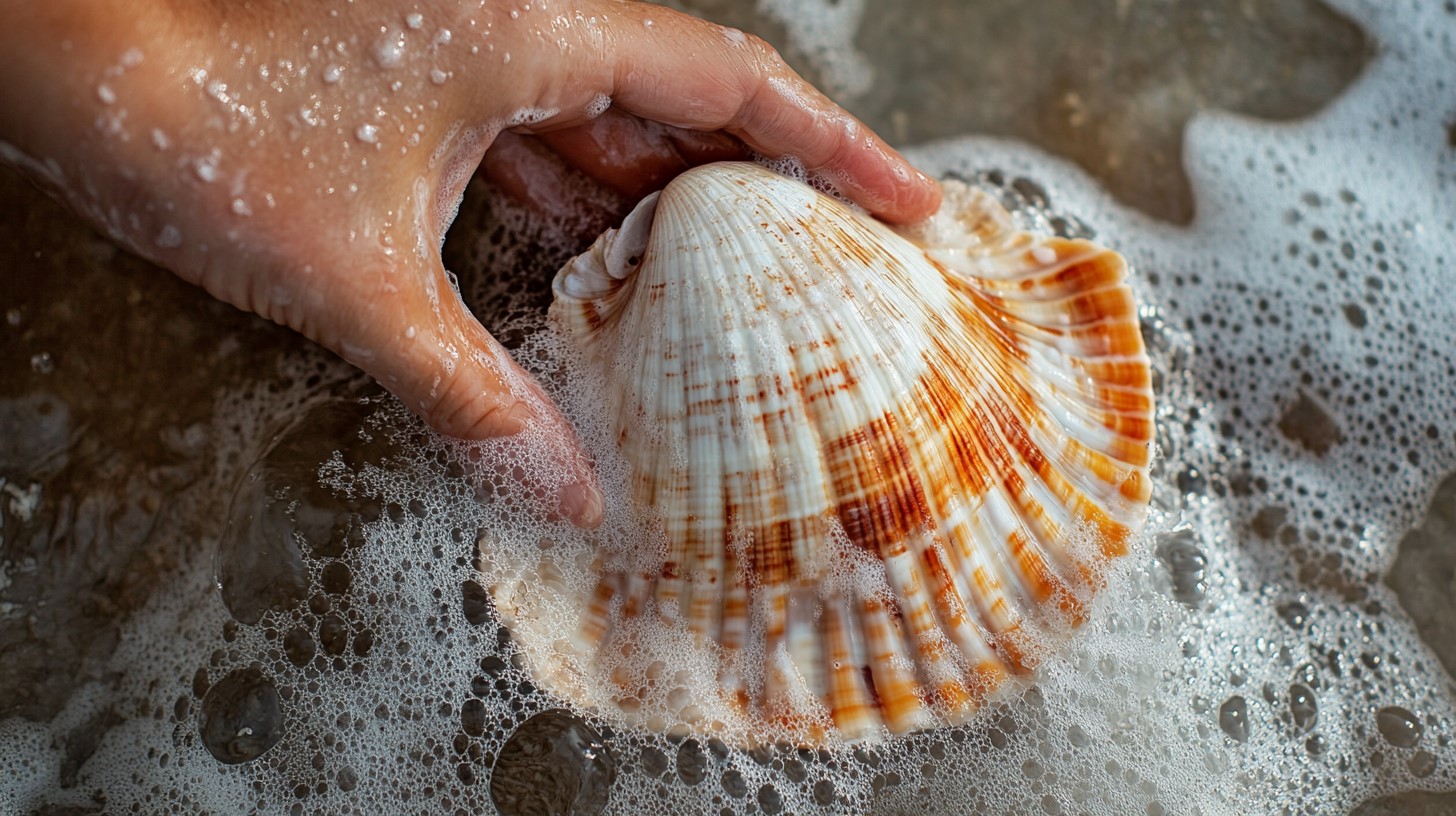
4. Rinse the Shells
Rinse the shells well with clean water to remove any soap.
Add a rinse aid like white vinegar to the final rinse to make sure all soap is gone.
5. Dry the Shells
Use a dry cloth to gently blot the shells.
This will prevent water spots.
6. Check and Clean Again
Check the shells for any remaining dirt or debris.
If necessary, clean again until the shells are clean and debris-free.
Extras
Bleaching the Shells: If you want to get a brighter, whiter color you can soak the shells in a solution of equal parts water and bleach for several hours. But be careful, too much bleach can weaken the shells.
Pressure Washer: For tough dirt you can use a pressure washer on a low setting to clean the shells. Be gentle with the shells.
Hairdryer: If you need to speed up the drying process, you can use a hairdryer on a low setting to dry the shells.
Drying and Storing Cleaned Oyster Shells
Once you’ve cleaned your oyster shells, you need to dry and store them so they’ll be good for your projects.
Drying the Shells
Air Drying: After blotting the shells with a dry cloth, lay them out on a clean surface. Let them air dry. This can take several hours to overnight, depending on humidity and temperature.
Sun Drying: If weather permits, put the shells outside in direct sun. The sun will dry them faster and can also bleach the shells making them even prettier.
Hairdryer: For a quicker option, use a hair dryer on low to gently dry the shells. Don’t use high heat, as it will damage the shells.
Storing the Shells
Storage Containers: Once dry, store them in a breathable container, like a cardboard box or a fabric bag. Don’t use plastic containers, as they will trap moisture and grow mold.
Labeling: If you have different types or sizes of shells, consider labeling your containers. This will make it easier to find the right shell for your next project.
Cool, Dry Place: Store the containers in a cool, dry place away from direct sun and humidity. This will help preserve the shells and prevent deterioration.
Tips for Enhancing Oyster Shells for Crafting
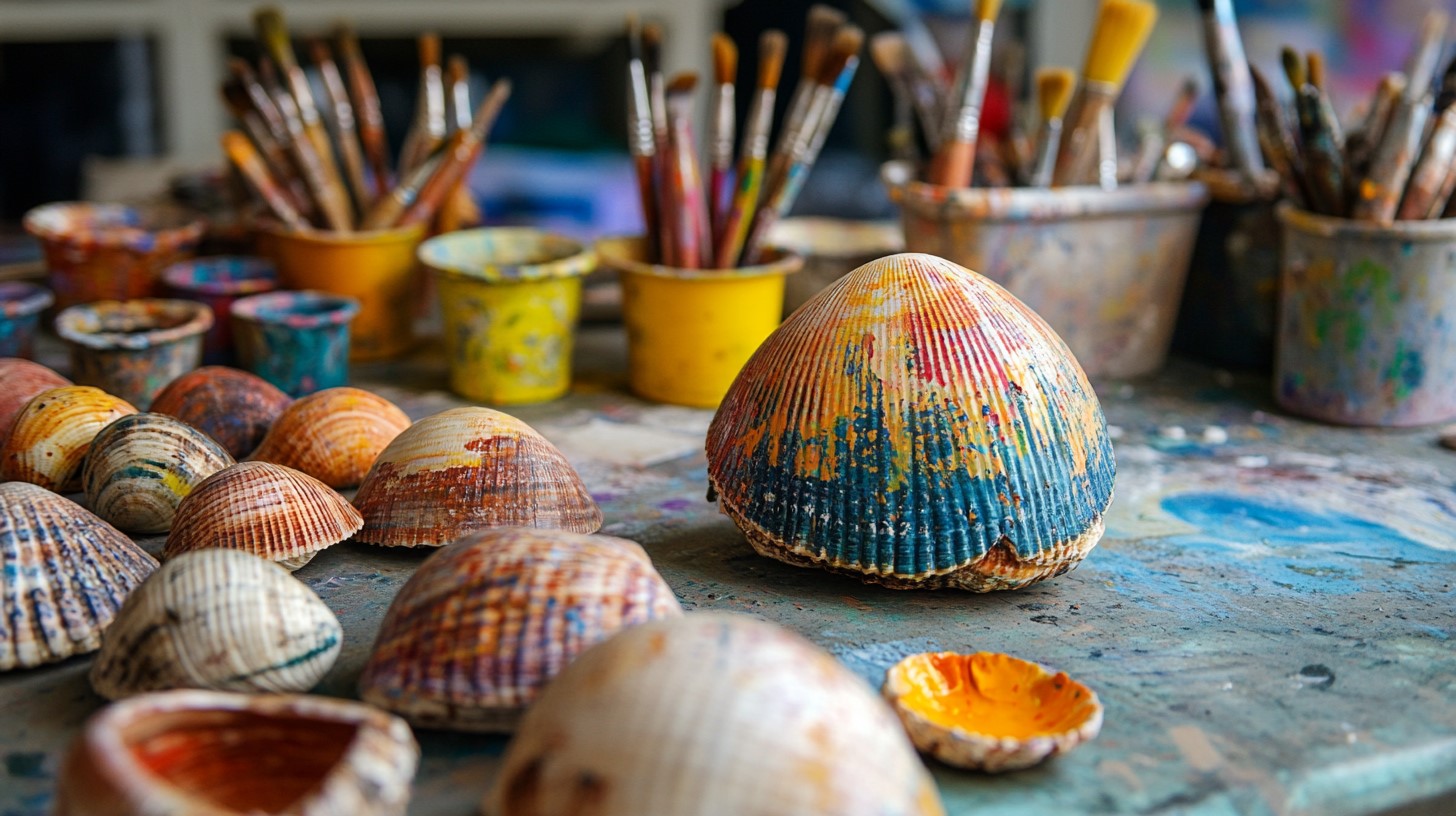
Image Credit: Unsplash
To make your oyster shells really pop into your crafts, add some enhancements. Here are a few tips to take your shells to the next level:
Polishing
Mineral Oil: After cleaning and drying, you can polish the shells with a little mineral oil. This will give them a nice shine and bring out the natural colors.
Buffing: Use a soft cloth to buff the shells after mineral oil. This will help bring out the shine and smooth out rough edges.
Painting and Decorating
Acrylic Paint: Use high quality, water based acrylic paint to paint your shells. This type of paint adheres well to the shell surface and is durable.
Sealant: After painting, apply a clear sealant to protect your design. This will also give the shells a glossy finish.
Glitter and Embellishments: Add some sparkle with glitter or embellishments. Use a strong adhesive to make sure they stay in place.
Drilling Holes
Proper Tools: If you’re making jewelry or hanging your shells, you’ll need to drill small holes. Use a Dremel or a small hand drill with a fine bit.
Safety: Always wear protective eyewear and work slow to avoid cracking the shells. Place the shell on a soft surface, like a towel, to cushion it.
By following these additional steps, your cleaned oyster shells will be beautifully enhanced and ready for any crafting project you have in mind. Happy crafting!
Cleaned Oyster Shell Ideas
Now that your oyster shells are all cleaned and ready to go, the fun begins!
Here are some ideas to get you started:
1. Jewelry
Turn oyster shells into pendants or earrings.
Drill a small hole, add a jump ring, and attach it to your favorite chain or earring hooks.
2. Home Decor
Use cleaned oyster shells as a unique accent in your home.
Paint or leave natural and use in centerpieces, as candle holders, or as part of a coastal display.
3. Garden Art
Use oyster shells in your garden by making plant markers.
Write the names of your plants on the shells and stick them into the soil for a fun touch.
4. Holiday Ornaments
Decorate oyster shells for the holidays!
Paint them, add glitter, or attach ribbons and use them as ornaments on your tree or in your home.
5. Table Settings
Use oyster shells as part of your table decor.
Fill them with small candles or succulents, or use them as unique serving dishes for appetizers.
Now get creative and try these out!
FAQs
How do you clean oyster shells for crafting?
Clean oyster shells for craft by gently scrubbing them with a soft-bristled brush and mild soap.
Rinse well with warm water and dry completely before using in your craft.
How to clean oyster shells for crafting?
Soak seashells in a solution of equal parts water and white vinegar for several hours.
Then, gently scrub with a soft-bristled brush and mild soap.
Rinse well with warm water and dry completely before using in your craft.
Can you boil oyster shells?
No, do not boil oyster shells.
They will become brittle and break.
Use the gentle cleaning method above to keep your shells intact for crafting.
What kind of paint do you use to paint oyster shells?
For painting oyster shells, use high-quality, water-based acrylic paint specifically designed for use on shells.
This type of paint adheres well to the shell and is durable and long-lasting.
Conclusion
Cleaning oyster shells is an important step in preparing them for craft.
Follow these steps, and your oyster shells will be clean, dry, and ready for your next project.
Whether you’re making jewelry, decorations, or other crafts, clean oyster shells for crafting will make your work pop and show off your talent.