Physical Address

304 North Cardinal St.
Dorchester Center, MA 02124

how to clean pine cones for crafting

How to Clean Pine Cones for Crafting

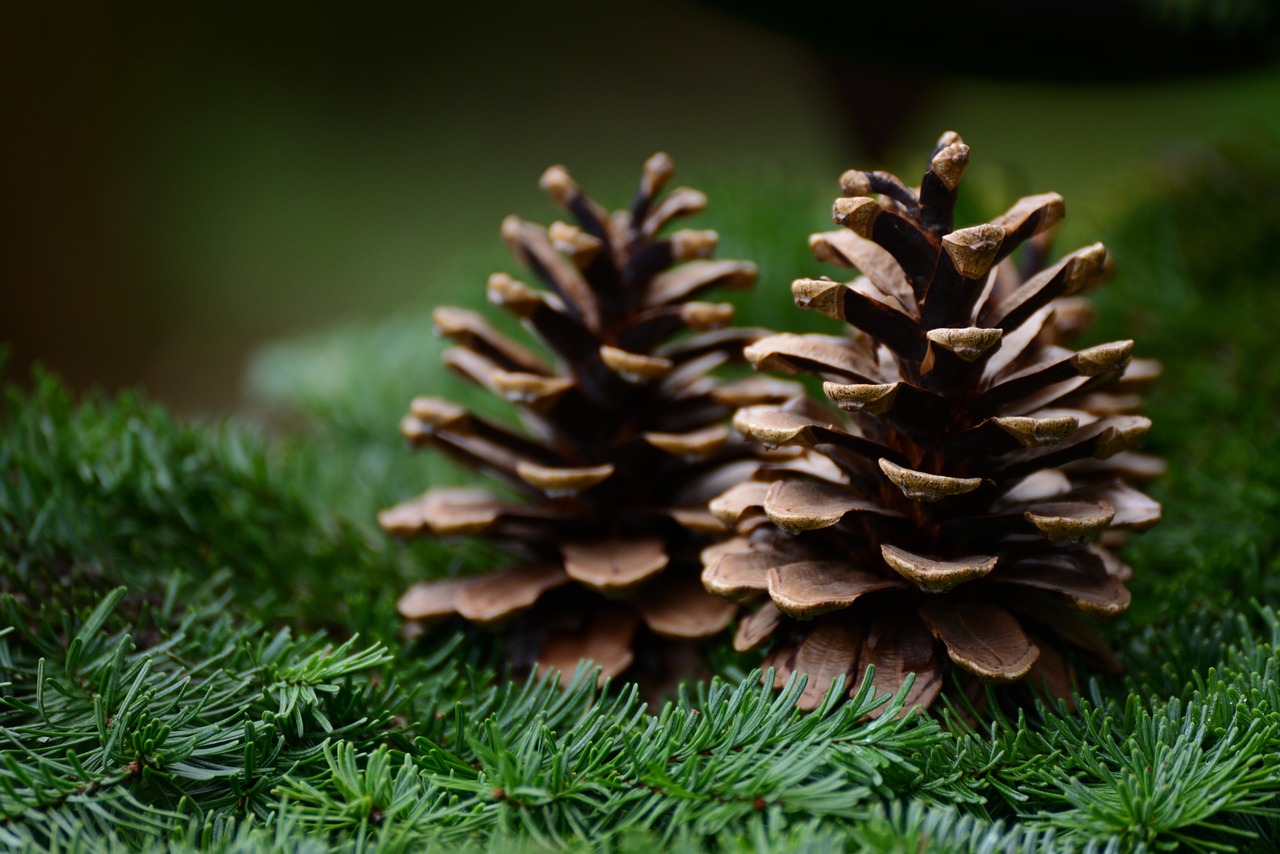
Pine cones are great. Once you know how to clean pine cones for crafting, they have a natural earthy look perfect for many different projects.

But before you use pine cones in your craft projects you need to clean them to remove dirt, debris and any allergens.

Here we will show you a step by step guide on how to clean pine cones for crafting so they are safe to use in your next project.

Why Clean Pine Cones for Crafting?

how to clean pine cones for crafting
Image Credit: Pixabay

Pine cones, especially those from outdoors, can have dirt, dust, and other substances that can affect your craft project.

Cleaning them thoroughly will:

  • Remove dirt and debris that will affect the look of your craft
  • Get rid of allergens or irritants that can cause skin reactions
  • Prevent the spread of pests or diseases that may be present in the pine cones
  • Dry the pine cones and get rid of moisture that can cause them to decay over time

Materials

  • Pine cones
  • Water
  • Mild dish soap
  • Soft-bristled brush or toothbrush
  • Clean cloth or paper towels
  • Optional: baking soda, white vinegar, hair dryer

Step-by-Step Process to Clean Pine Cones for Crafting

how to clean pine cones for crafting
Image Credit: Pixabay

1. Inspection

Start by inspecting the pine cones for any visible dirt, debris, or damage.

Remove any loose particles or twigs using your fingers or a soft-bristled brush.

2. Soaking

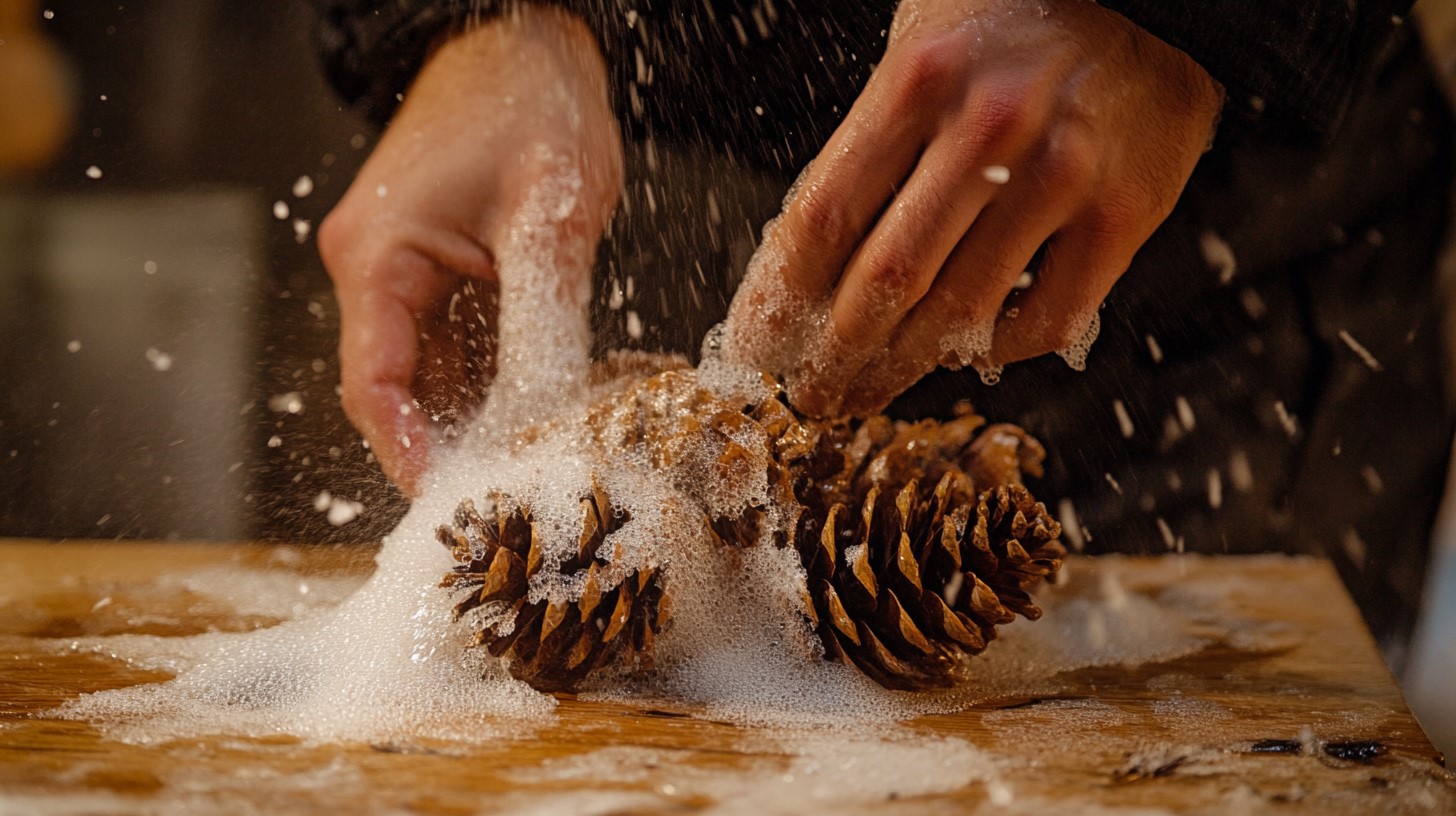
Fill a large bowl or container with warm water and add a small amount of mild dish soap.

Stir well to create a gentle cleaning solution.

Submerge the pine cones in the soapy water, making sure they are fully covered.

Let them soak for at least 30 minutes to an hour.

This will loosen the dirt and debris.

3. Rinsing

After soaking, remove the pine cones from the soapy water and rinse them well with clean water to remove soap residue.

Use a soft-bristled brush or toothbrush to scrub away any remaining dirt or debris.

4. Drying

Use a clean cloth or paper towel to gently blot the pine cones.

You can also use a hair dryer on low to speed up the drying process.

Be careful not to apply too much heat, as this can cause the pine cones to open up or become brittle.

5. Optional: Baking Soda and Vinegar Treatment

If the pine cones are very dirty or have a strong smell, you can use baking soda and white vinegar to clean and deodorize them.

Mix one tablespoon of baking soda with one tablespoon of white vinegar to create a paste.

Apply the paste to the pine cones and let it sit for about an hour.

Then rinse with clean water and dry as above.

Tips and Variations

how to clean pine cones for crafting
Image Credit: Pixabay
  • Air Drying: If you don’t want to use a hair dryer, you can air dry the pine cones by placing them on a paper towel-lined surface. This method takes longer but helps preserve the natural texture of the pine cones.
  • Oven Drying: For faster drying, you can place the pine cones in a low temperature oven (150°C – 200°C) for 1-2 hours. Keep an eye on them so they don’t become too dry or brittle.
  • Preservation: To prolong the life of your cleaned pine cones, you can apply a clear varnish or sealant. This will protect them from moisture and prevent them from becoming brittle over time.

FAQs

How do I sterilize pine cones for crafts?

To sterilize pine cones:

  1. Clean Off Debris: Remove any dirt, leaves, or other debris from the pine cones using a small brush or by hand.
  2. Vinegar Solution: Mix 1 cup of vinegar with 1 gallon of water. Soak the pine cones in this solution for about 30 minutes. The vinegar will disinfect them and kill any bugs inside.
  3. Rinse and Dry: After soaking, rinse the pine cones well under running water to remove any vinegar residue. Let them drain in a strainer for a few minutes.
  4. Oven Drying: To dry them completely and to help them open up, place the pine cones on a foil lined baking sheet and bake in an oven preheated to 200-300°F for 30 minutes to 1.5 hours depending on the size. Keep an eye on them so they don’t burn.

How do I prep pine cones for crafts?

The prep process is cleaning and drying the pine cones:

  • Initial Cleaning: Brush off any visible dirt and debris.
  • Soaking: Soak the pine cones in the vinegar solution as above to clean and disinfect them.
  • Drying: After rinsing, you can air dry them for several days or use the oven method above to speed up the drying process. Make sure they are dry before using them for crafts.

How do I know pine cones are bug-free?

To ensure pine cones are bug-free, soaking in a vinegar solution is key as it kills most insects.

After soaking and rinsing, the drying process in the oven also helps eliminate any remaining bugs.

You can also:

  • Inspect: Before bringing them inside, inspect the pine cones for any visible insects or webs.
  • Store Properly: Once cleaned and dried, store the pine cones in a sealed container or bag to prevent new infestations.

What to spray on pine cones?

To preserve pine cones for crafts, you can use a clear acrylic spray sealer.

This will provide a protective coating that will prevent them from becoming brittle over time and enhance their appearance.

  • Application: Once the pine cones are dry, spray with a clear acrylic sealer, following the manufacturer’s instructions. Let them dry completely before using them in your projects.

Conclusion

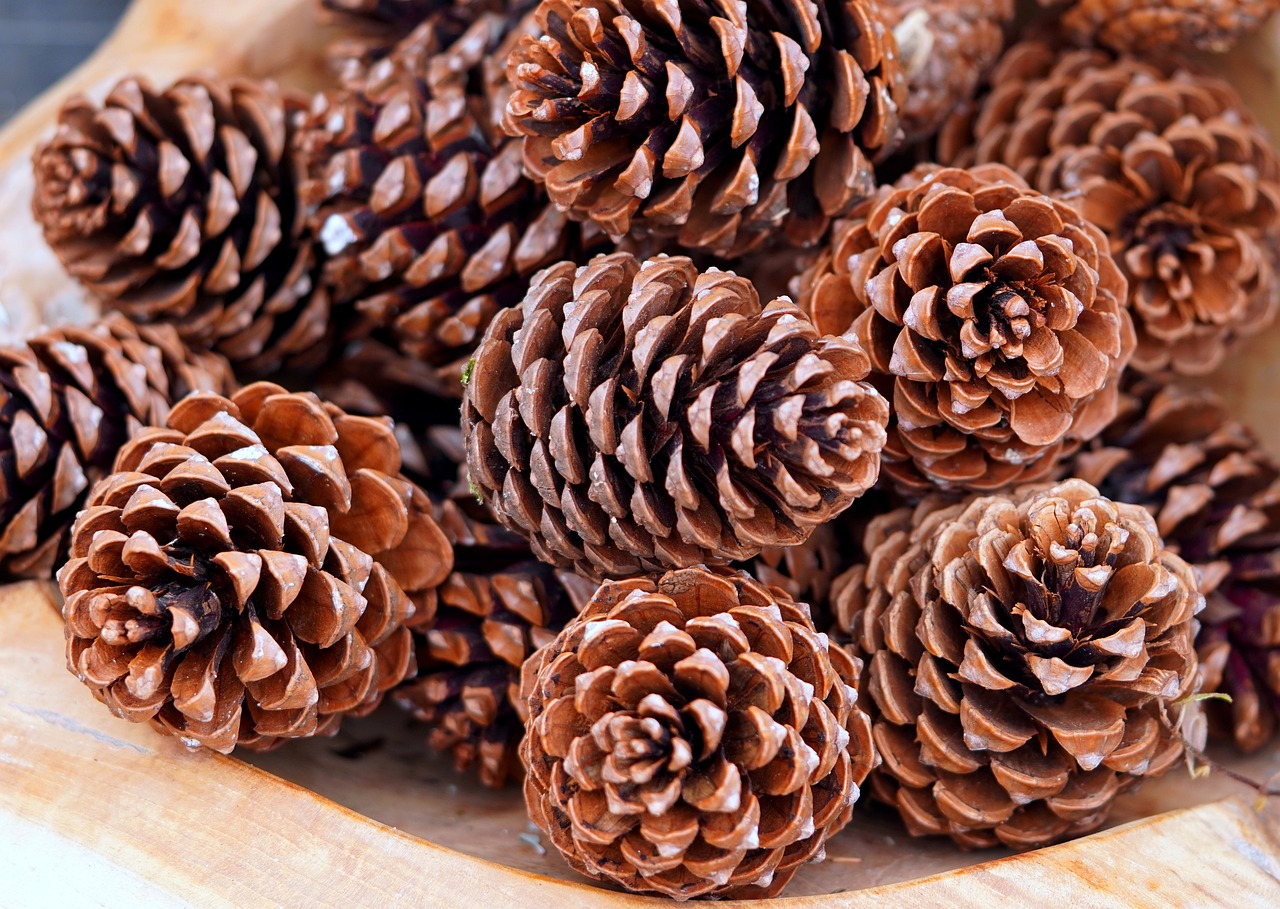
Cleaning pine cones for crafts is a simple but important step to ensure the quality and safety of your craft projects.

By following these steps you can use pine cones in your crafts with confidence knowing they are dirt, debris and allergen free.

With a little patience and care, you can get the most out of pine cones and create beautiful long lasting crafts.